Only logged in registered users of this site which have their permissions set to contributor, author, editor or administrator can create posts. If you wish to create posts on behalf of a North Luffenham village group please contact the site administrator.
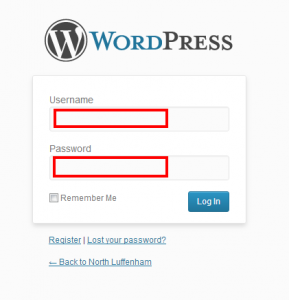
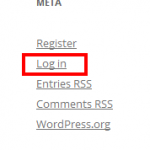
1) Go to the northluffenham.com website and click on “Login” in the bottom right corner.
Then enter your user login details and click the blue “Log In” button to proceed to the admin dashboard.
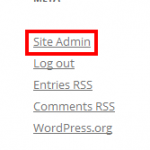
If you are already logged in, then click on “Site Admin” instead, which will take you directly to the admin dashboard.
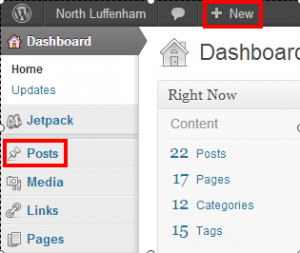
2) Click on “+ New” in the black bar at the top of the page, or hover over “Posts” in the left hand column and then click “Add New”.
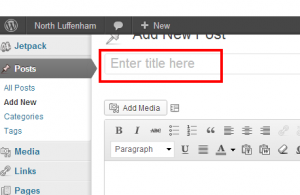
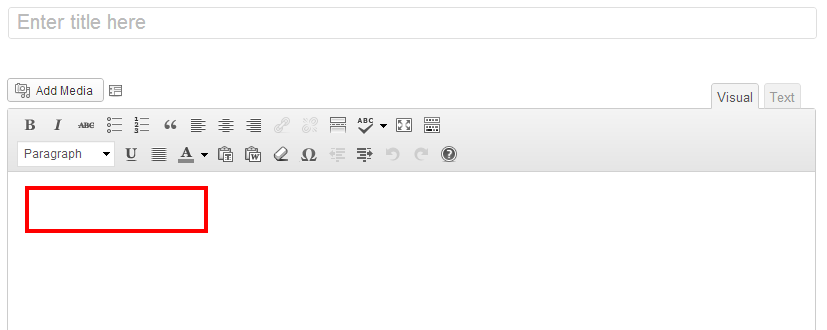
3) Write a unique title for your post, ideally no more than 70 characters long, where it says “Enter title here”.
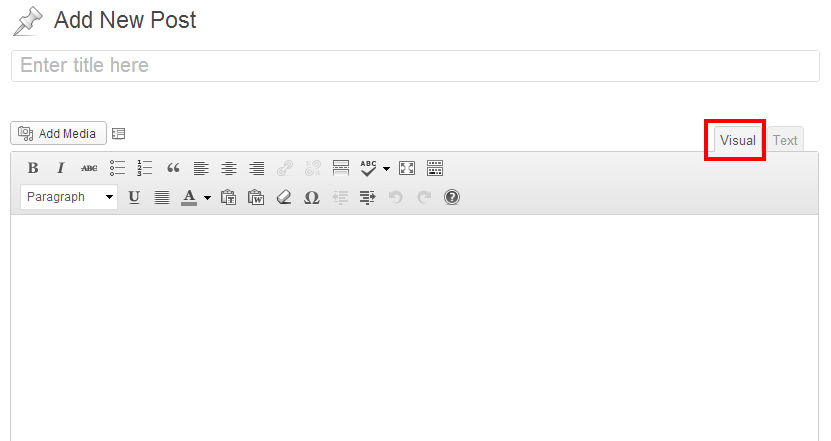
4) Underneath the title box you will see a larger empty box for adding the body content of your post. Before you start writing make sure that you are using the Visual mode rather the Text mode by simply clicking on the “Visual” tab in the menu at the top of the box.
5) Start writing the content of your post inside the large empty box. At any point while writing your post you can use the menu at the top of the box to add italics, bold, bullet points, web links etc… just like you do with any other word processor such as Microsoft Word.
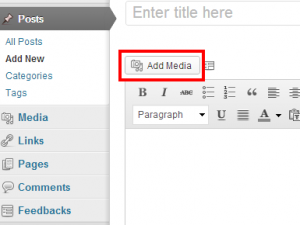
6) If you wish to add a photo or downloadable file to your post, first click on the position in the content where you want the photo or the link to the file to appear. Then click on the “Add Media” tab at the top left corner of the content box.
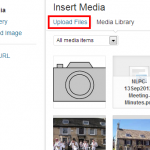
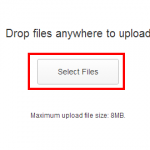
7) Then click “Upload Files” followed by “Select Files” to choose the file from your computer to upload. If you are uploading an image, try to keep the file size as low as possible, preferably less than 500KB, which will ensure the image loads quicker when it is viewed on a webpage.
8) Once the file to upload is selected click “Open” and wait for the file to be uploaded, this may take a minute or two if the file is large.
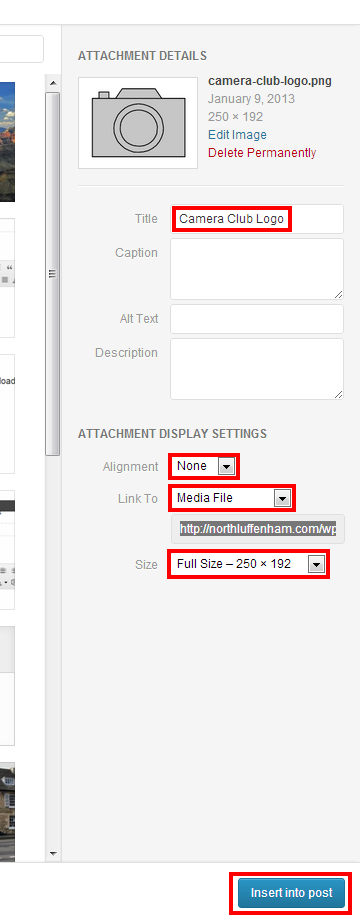
a) If the file uploaded is an image you will see options to modify the image to optimise the display of the page, e.g. left right, center, none etc… if you are not familiar with incorporating images into documents enter a short description for the image in the “Title” box, select the “Alignment” as “None” and the “Size” as “Large” or if this is not available select “Full Size“. Finally click “Insert into post” to embed the image in the post content.
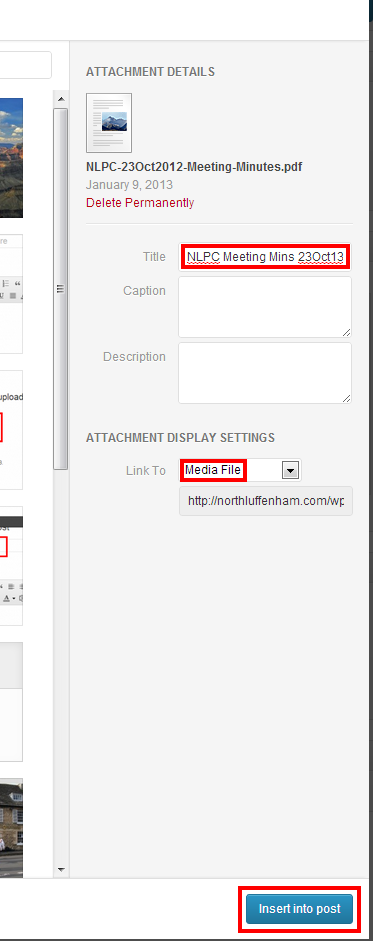
b) If the file uploaded is a document file e.g. Word or PDF, you will see a slightly different menu options. Enter a short description of the document in the “Title” box, select “Media File” for the “Link To” options. Finally click “Insert into post” to add a link to your uploaded document in the post content.
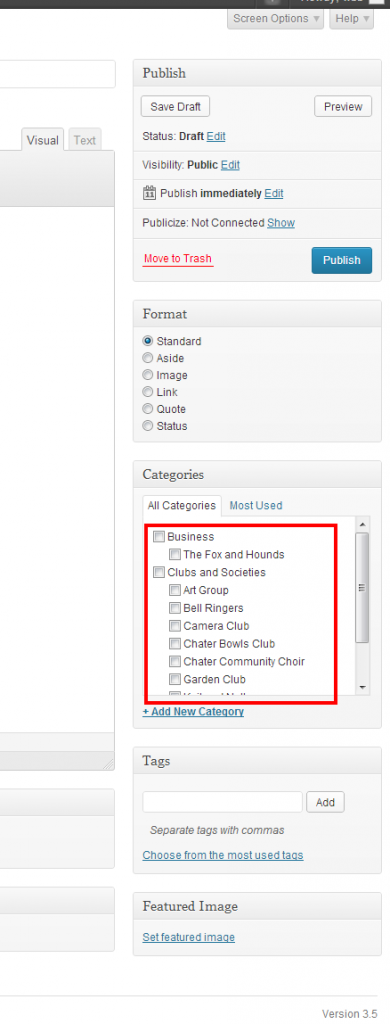
9) In the right hand side of the page you will see a column which includes a Publish, Format, Categories, Tags and a Featured Image section. Scroll down so that you can see the Categories section and select your organisation e.g. “Camera Club”.
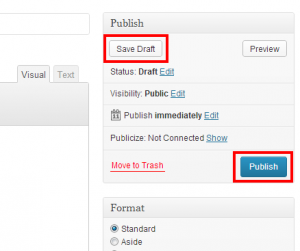
10) Now you are ready to save the page. If you wish to publish your page then click the blue “Publish” button in the Publish section in the top right of the page. If you do not see a blue “Publish” button or you would rather the Site Administrator check the page before it is published click on the grey “Save Draft” or the blue “Submit for Review” button located in the Publish section.
N.B. Please note that all subscribers to the website will be notified when a post is published, so only click “Publish” when you are sure your post is completed. If you do accidentally prematurely click “Publish” you can still continue to edit the post and re-publish as many times as necessary by clicking the blue “Update” button. Prior to publishing your post, you may click on “Save Draft” at any time to save your work. There is also an autosave feature but this may not function frequently enough, so to prevent accidental loss of your work, it is best to rely on manual saving if you writing a long post.

